

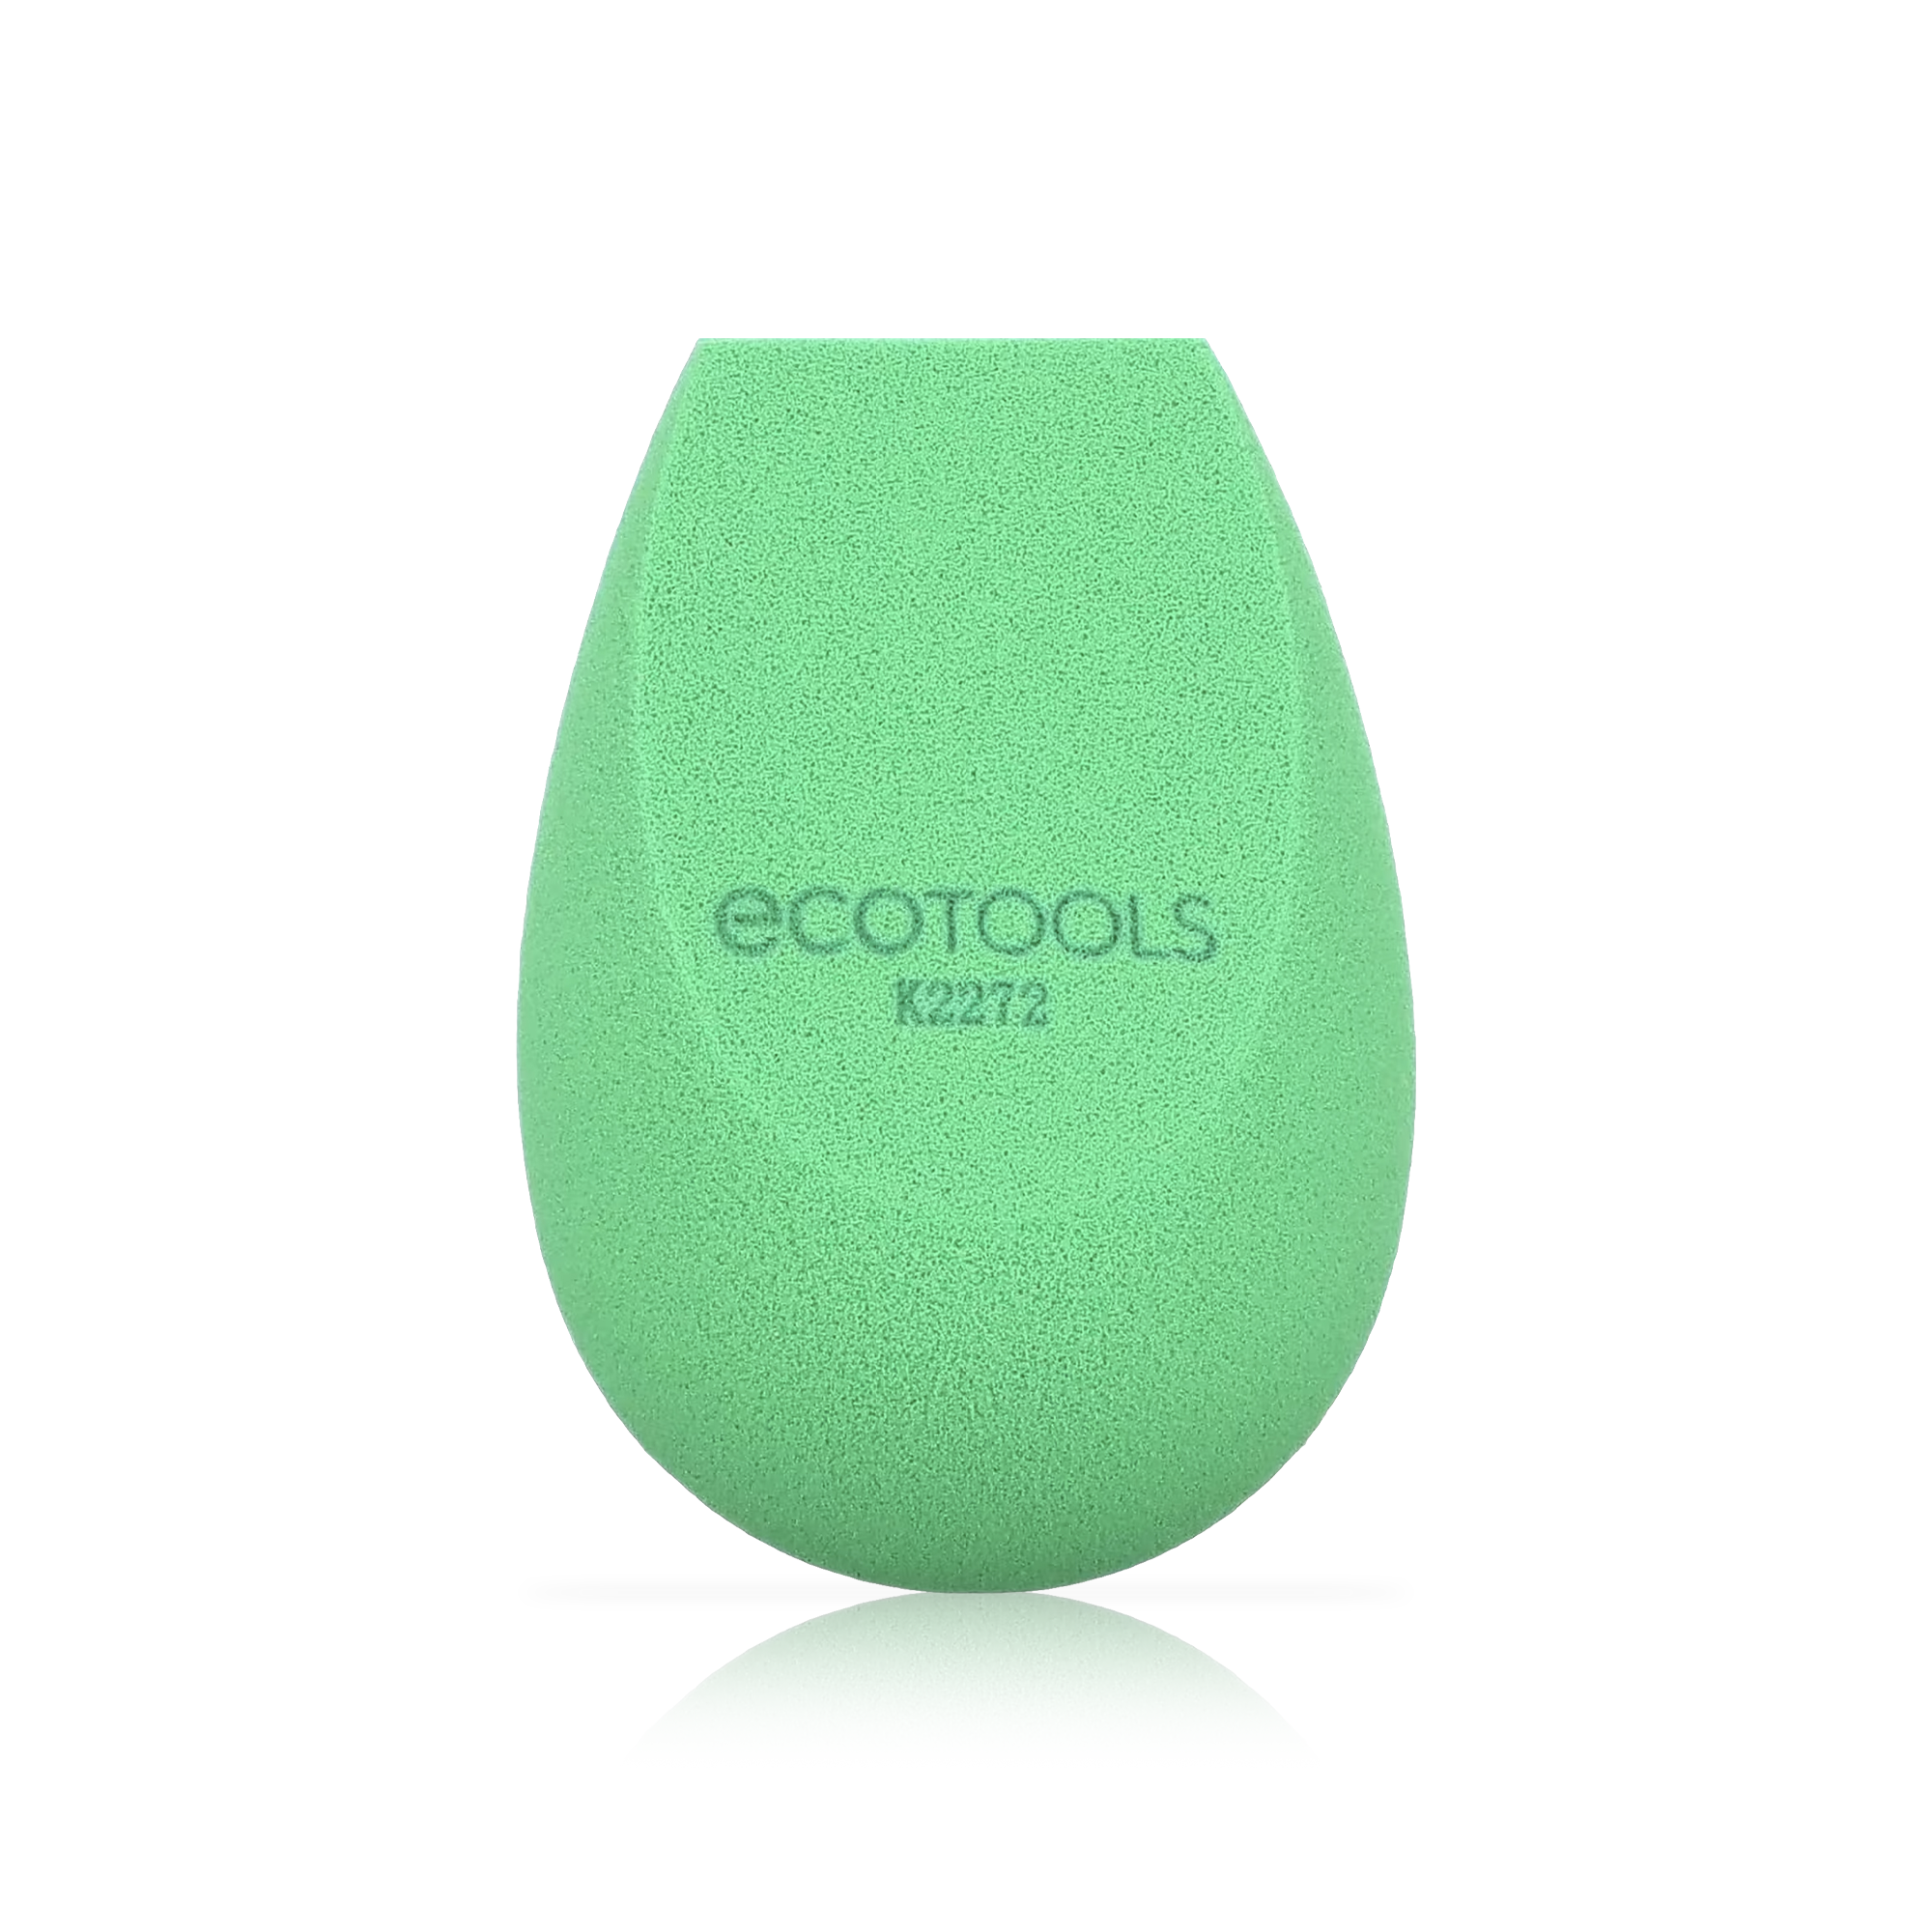
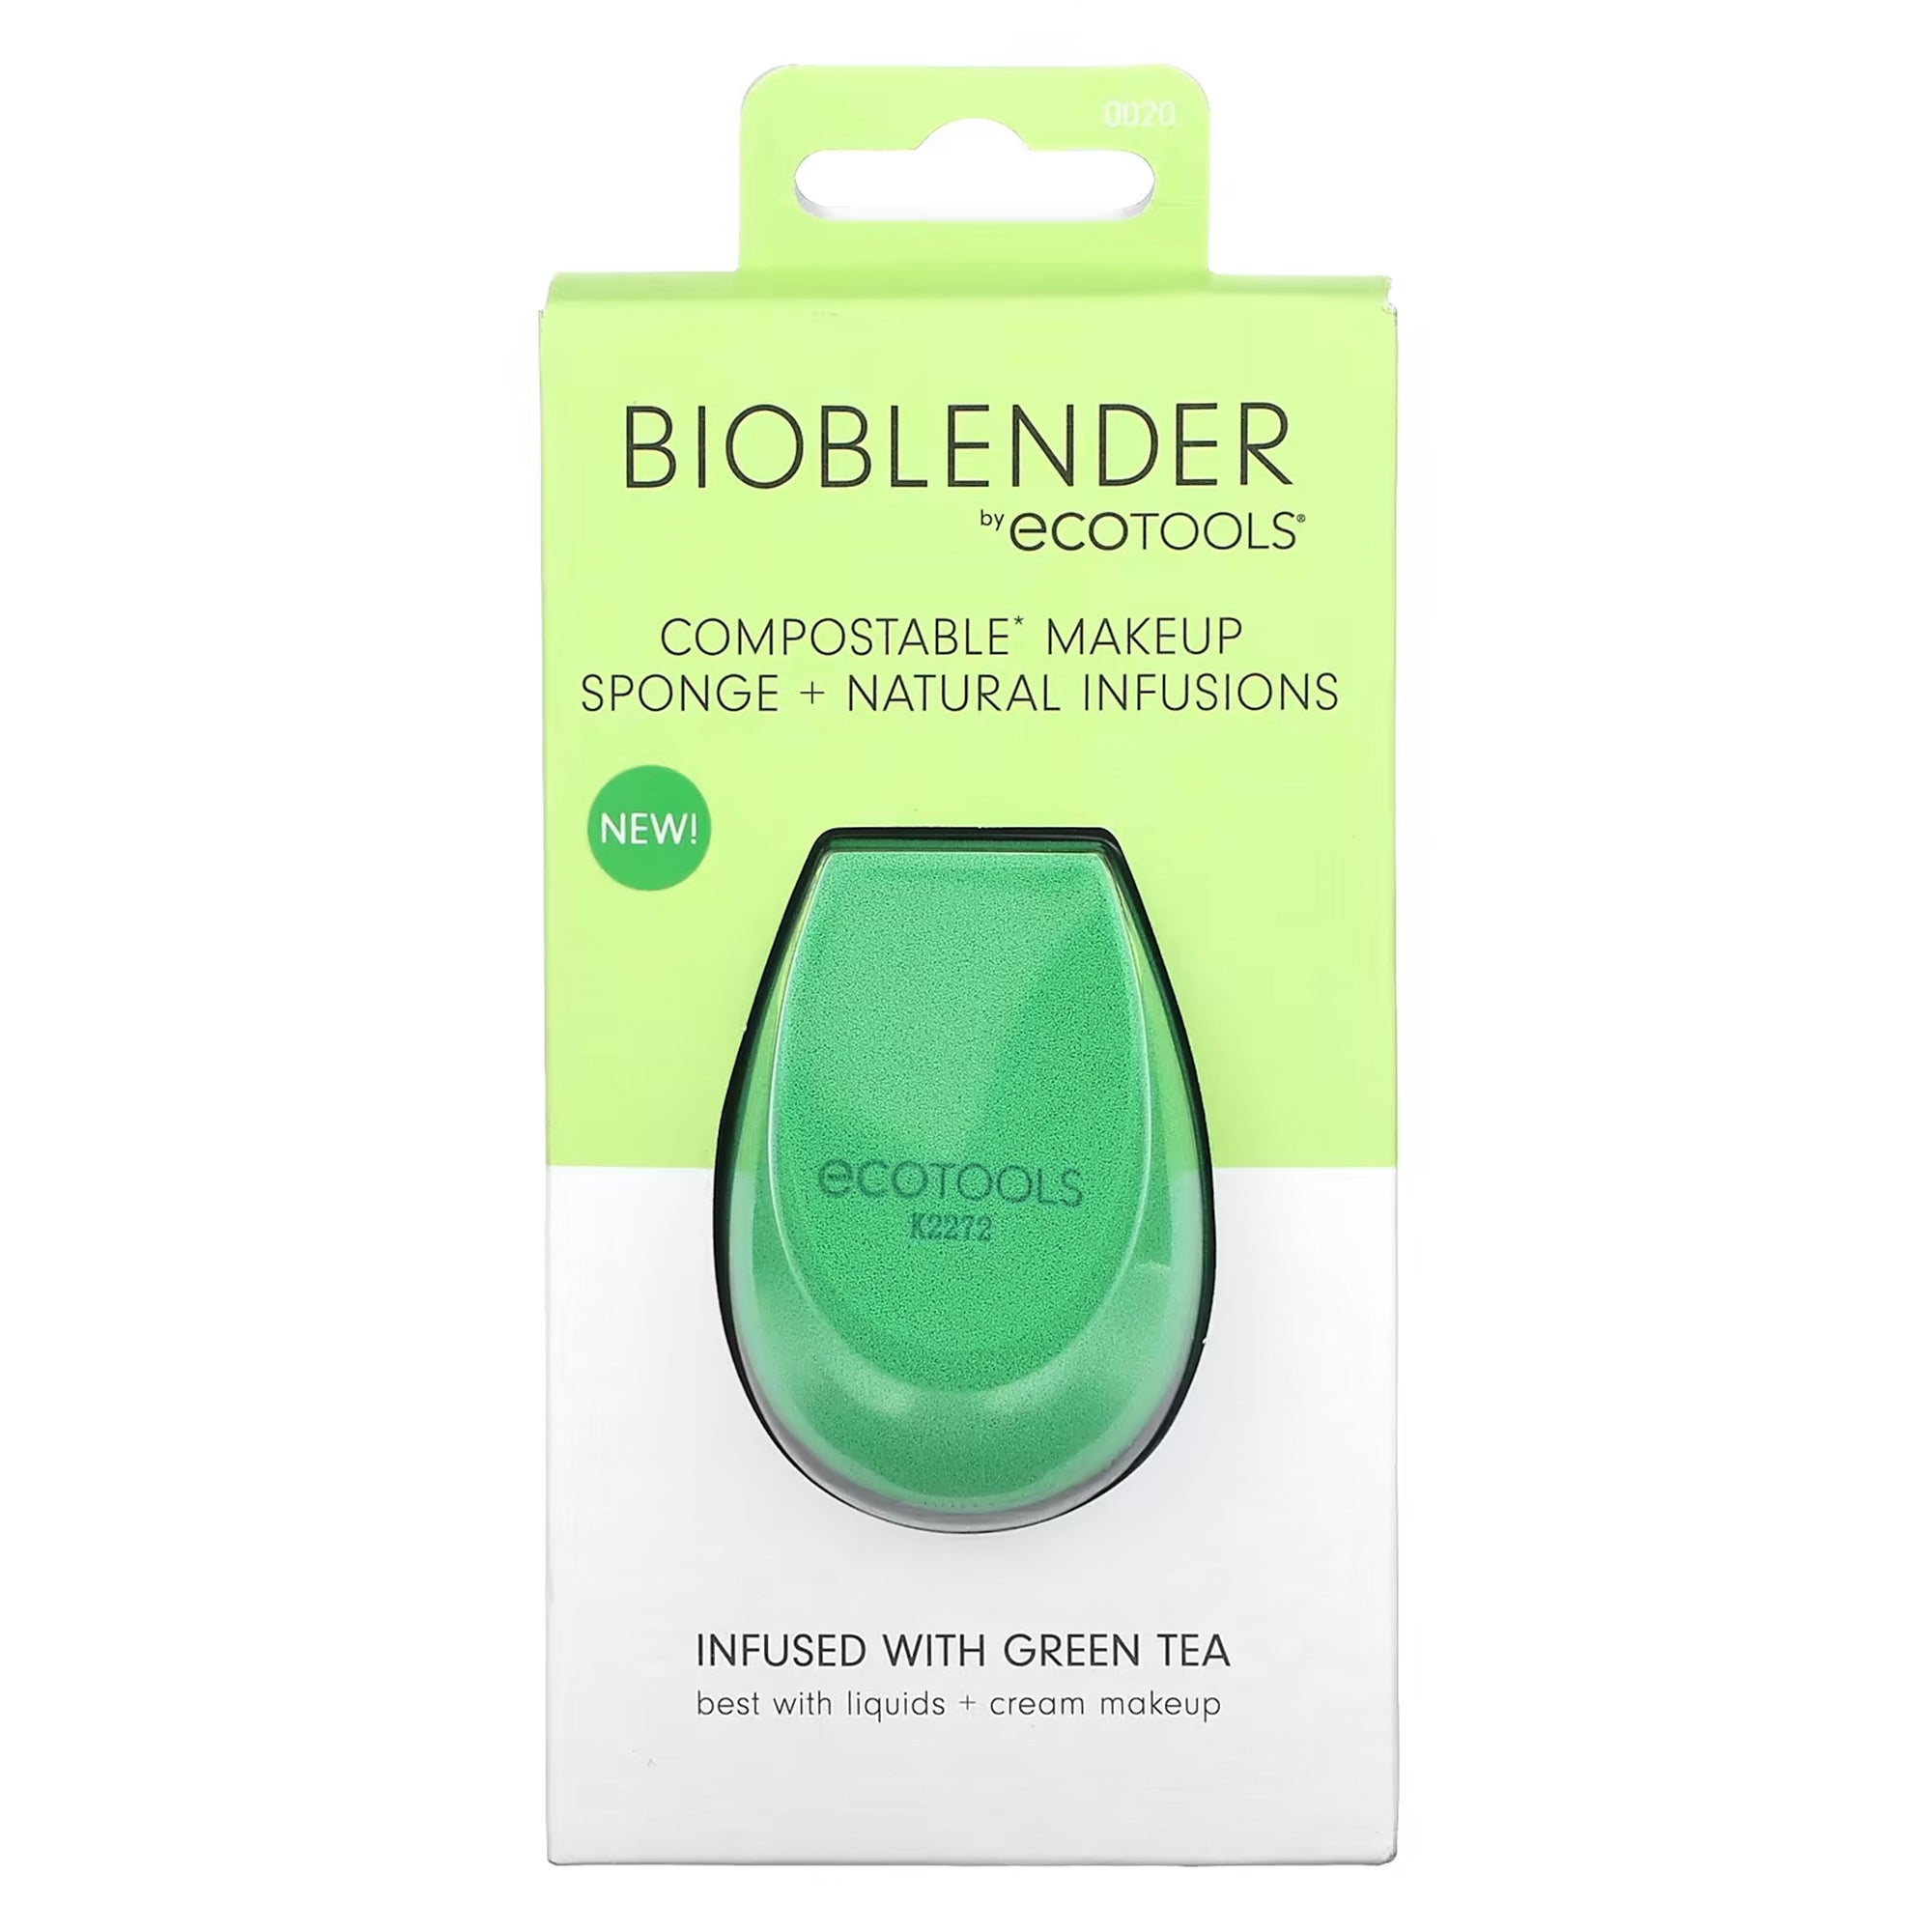
Bioblender Makeup Sponge with Green Tea
- سعر عادي
-
3.750 KWD - سعر عادي
-
- سعر البيع
-
3.750 KWD
أو قسِّط على 4 دفعات بقيمة 0.938 د.ك – بدون رسوم تأخير، متوافق مع الشريعة!
-
Hurry, only 1 item left in stock!

-

Vegan
-

Cruelty Free
تفاصيل المنتج
وصف
EcoTools Bioblender Makeup Sponge with Green Tea
Achieve flawless, glowing skin with the EcoTools Green Tea Bioblender, designed for seamless makeup application and infused with the skin-calming benefits of green tea. This biodegradable sponge provides a mattifying effect, soothing skin while delivering smooth, even coverage. EcoTools is committed to beauty and sustainability with products that are vegan, cruelty-free, and made from eco-friendly materials.
Key Benefits:
- Infused with green tea to calm and mattify the skin
- Provides flawless, glowing skin without the added waste
- Made with 5 earth-friendly, clean ingredients for a sustainable beauty routine
- Distinct patented shape with 3 edges for easy application in hard-to-reach areas
- Compostable with Bionanopol, reducing environmental impact
- FSC certified packaging printed with soy ink
- 100% vegan and cruelty-free, never tested on animals
- Made with recycled materials, including aluminum and plastic
Why You Need It:
EcoTools Green Tea Bioblender offers the perfect balance of eco-friendly design and makeup performance. With its versatile shape and green tea infusion, this sponge delivers smoother, more radiant skin while benefiting the planet. Replace your sponge every 30 days for optimal results and cleanliness.
كيف تستعمل
قائمة المكونات
الشحن والإرجاع
تعرّف على عملية الشحن الفعّالة لدينا، وإرجاعات بدون عناء، وإعادة الأموال بسهولة.
نبذة عن ايكو تولز

